


In my last article, I covered the topic of how git works. Today it's about the usage with the command line interface.
Why should I use git CLI
The most important reason is time-saving. Since you are faster when you use your terminal and write a few short commands instead use a GUI. You could even improve your speed with git aliases. I already covered aliases in a previous article.
How to use the CLI
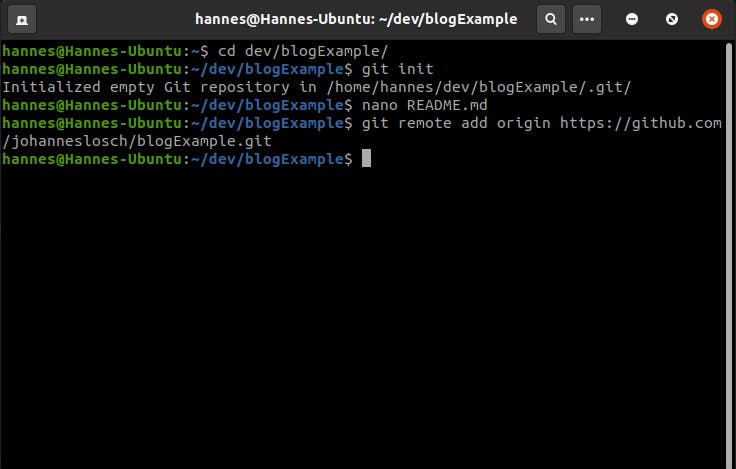
Start a new project
First, you need git installed on your machine. Then you open your terminal or Command Prompt. If you are using ubuntu you need to press CTRL + ALT + T, with windows run WIN + R
 and type
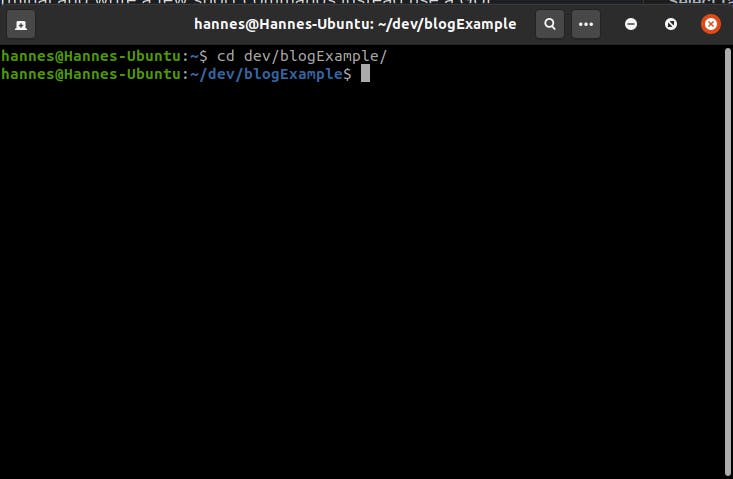
 cmd and press enter. Then cd in your project folder.
 Then use
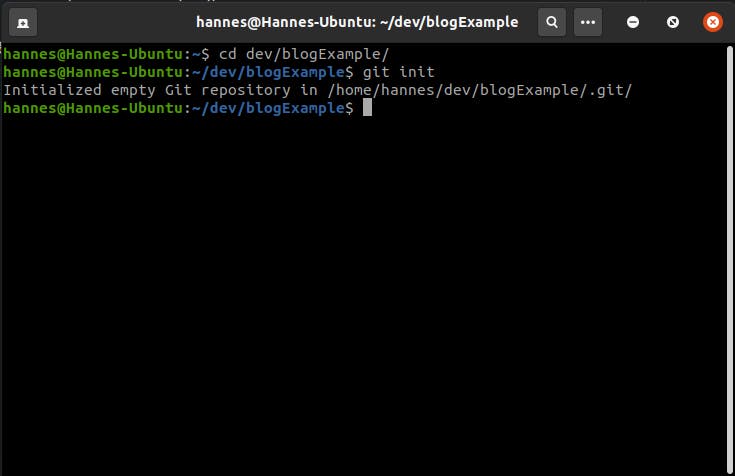
git init
to create a new git project.
Then I recommend creating a README file and enter there the Project title. I prefer to use nano for that, so I use
nano README.md
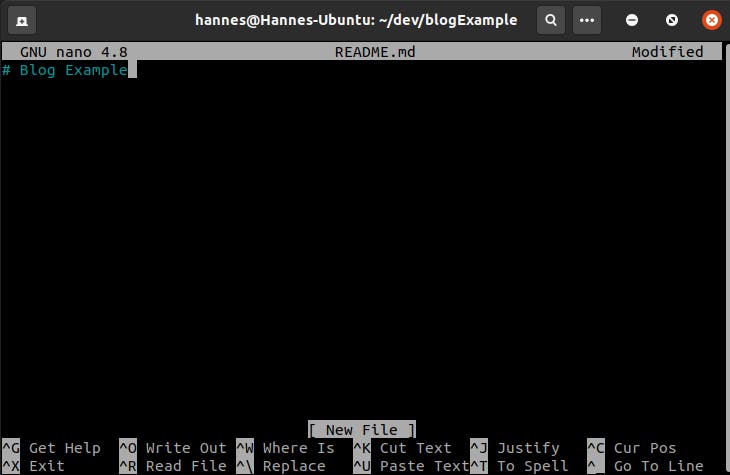 end safe and exit with
 CTRL + X, Y, and ENTER.
Then I create a new Github repo and fill out the form
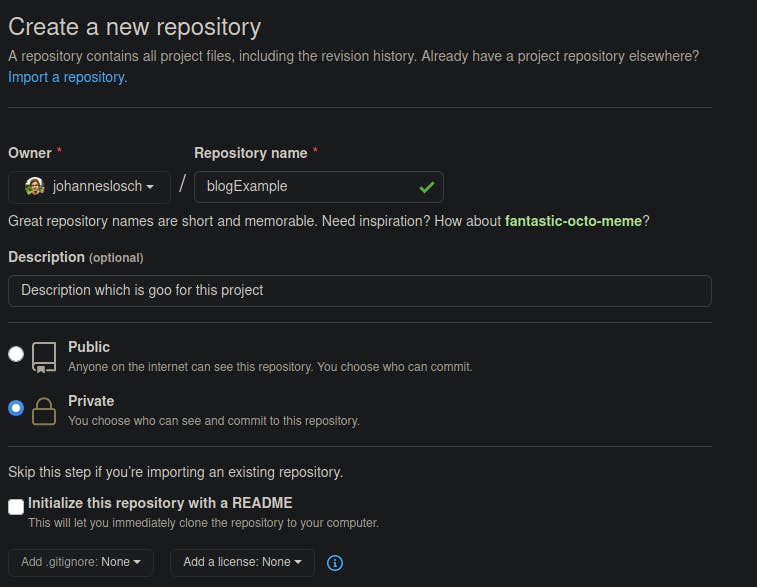 end press
 Create repository.
Then are you at a page like that
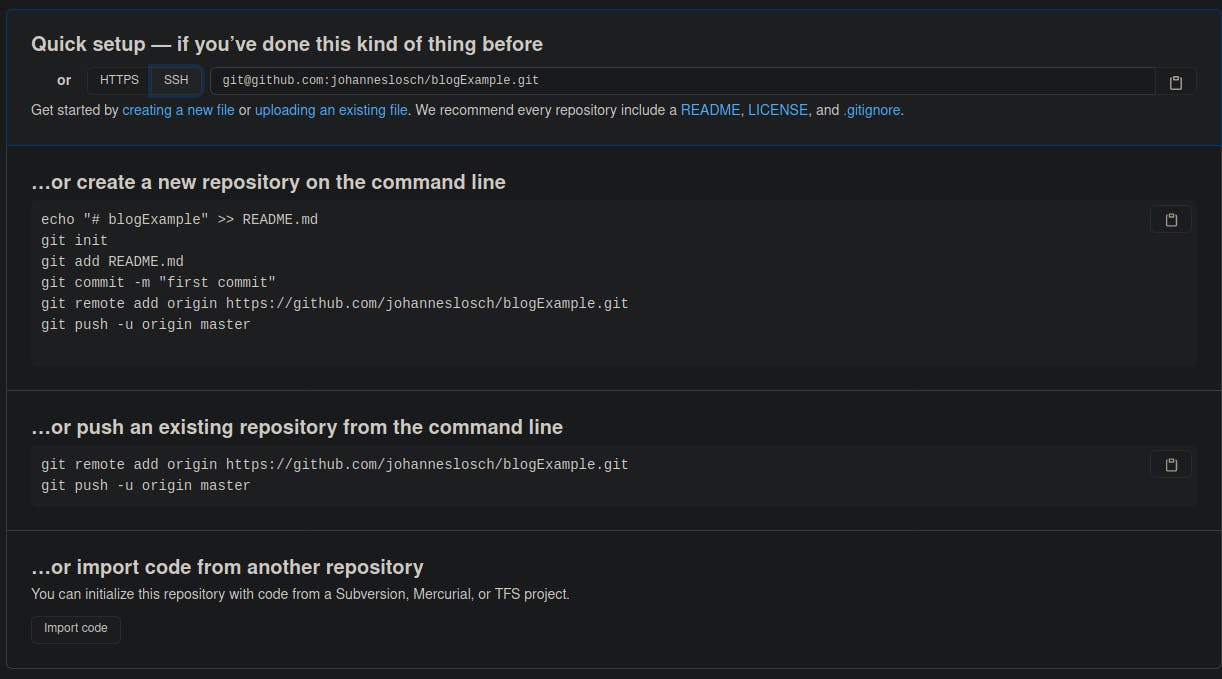 where we use the
 …or push an existing repository from the command line selection.
so copy the first line and past it in your terminal like that
 After that you use
git add .
to add all files to a commit and then you use
git commit -m "init"
to commit the files with the commit message init and then you use
git push -u origin master
If you are using aliases like me this should look like that

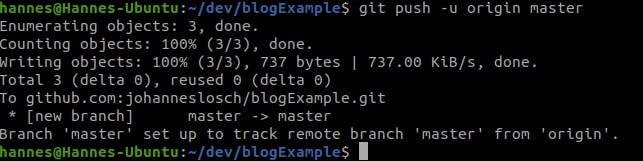
If you don't have an error it should look like this
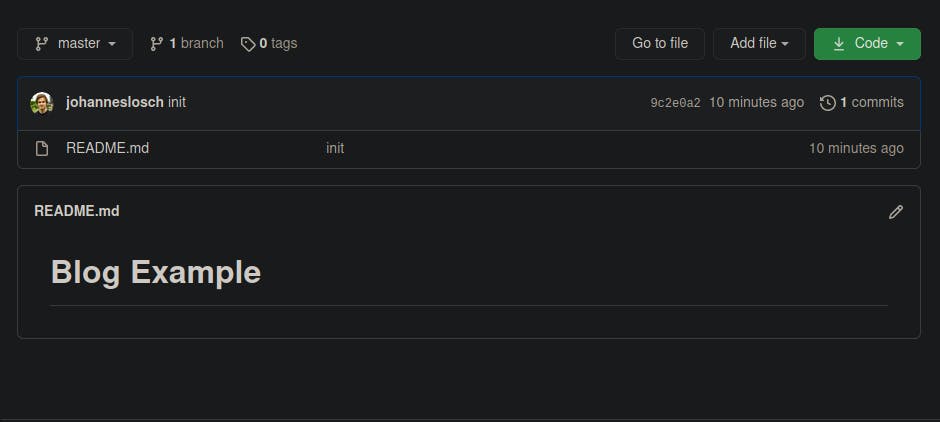 and the commit history on the right should look like this

I cover the verified commits in one of the next articles.
When you run in some error, I cover it in another article, tell me your errors in the comments, so I can help you with them.
Which commands can I use
The commands are covered in the next article. Where I also mention the flags you can use.